
<- Go Back
Getting Started
Managing Your RankFrame Account
How to access your profile, update Personalization settings, and manage your account from inside the RankFrame plugin panel.
Last Updated on
Read Time
4 min read
Opening Account Settings
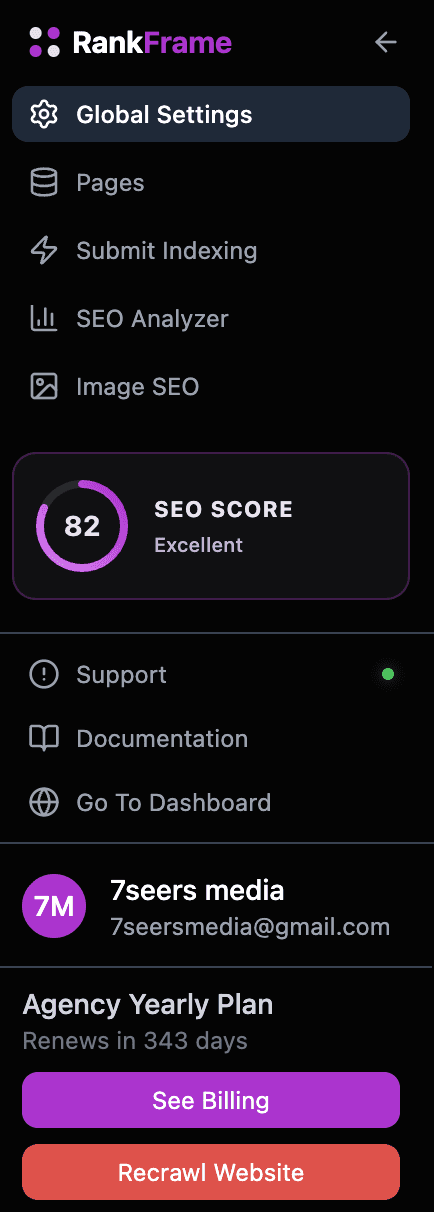
Click the account block at the bottom of the RankFrame sidebar. This is the block that shows your avatar, name, and email. A modal opens with two tabs: Profile and Personalization.
Profile tab
The Profile tab shows your account details.
Avatar: your initials in a purple circle
Name: the name on your account
Plan badge: your current plan (Free Trial, Personal, or Agency)
Email Address: the email you signed up with
Joined Date: when you created your RankFrame account
Status: your authentication method (Google Auth or Email + Password)
All profile fields are read-only inside the plugin. To update your name, email, or password, visit dashboard.rankframe.com.
If you signed up with Google Auth, your name and email come from your Google account. Update them from your Google account settings to see changes reflected in RankFrame.
Personalization tab
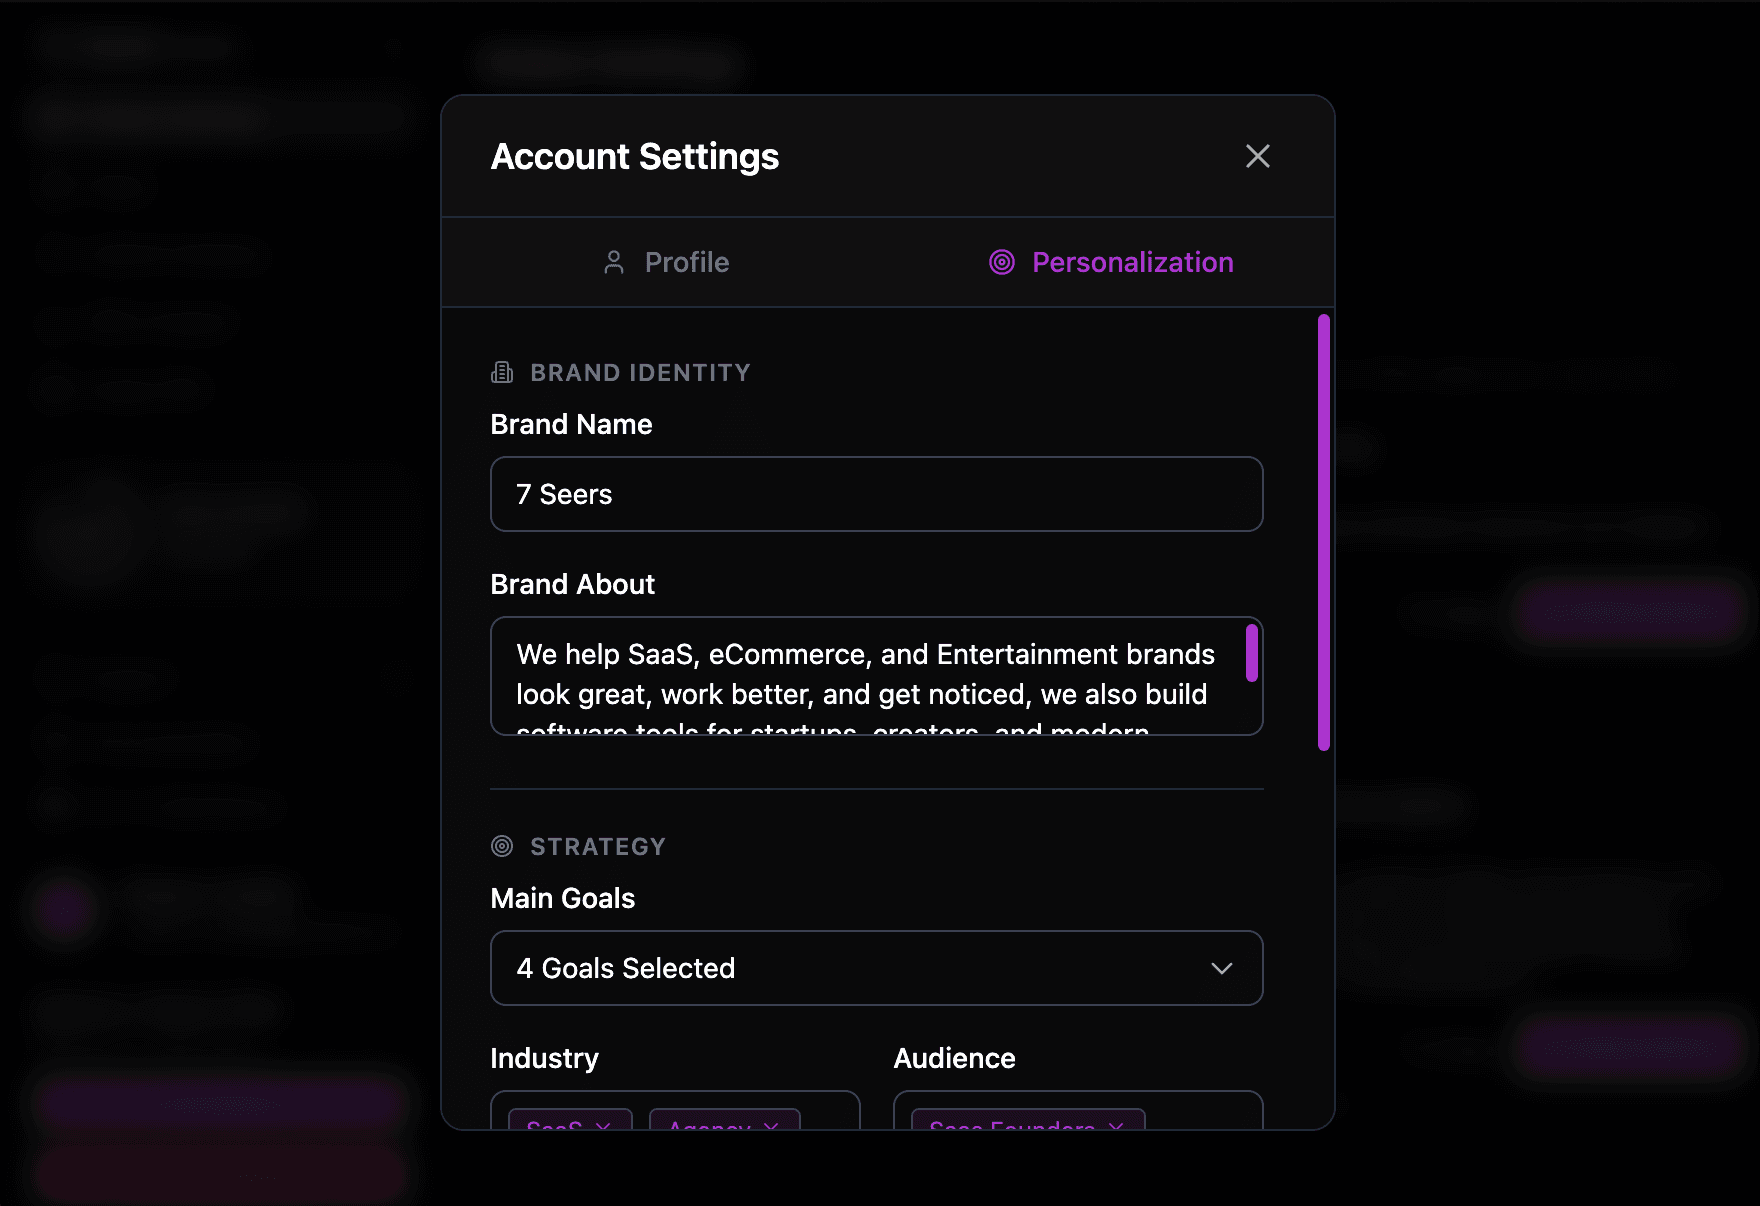
The Personalization tab is the most important account setting in RankFrame. It contains the brand context that every AI feature reads before generating any output.
Without Personalization data, AI writes generic, template-sounding copy. With it, AI generates titles, descriptions, alt text, and schema fields that sound like your brand.
The Personalization tab has two sections: Brand Identity and Strategy.
Brand Identity fields
Brand Name: The name of the business or project. This appears in AI-generated meta titles, schema markup, and alt text.
Brand About: A multi-line description of what the business does, who it serves, and what makes it different. Be specific, the more context you provide, the more relevant every AI output becomes.
Strategy fields
Main Goals: Multi-select dropdown. Choose all goals that apply to your site. Options include Increase Traffic, Generate Leads, Boost Sales, Brand Awareness, Local Presence, and Improve Authority.
Industry: Tag input. Type your industry and press Enter. Common examples include SaaS, Agency, E-commerce, Portfolio, Local Business, and Startup.
Audience: Tag input. Describe who your site is targeting. Examples: SaaS Founders, Business Owners, Freelance Designers, Marketing Teams.
Competitors (URLs): Add URLs of competitor sites, one per line. Click + Add Competitor to add a URL.
After filling in all fields, click Save Settings. Your Personalization data is applied immediately to all subsequent AI generations.
Update your Personalization data whenever your business focus shifts, you launch a new product, or you start managing a new client site. The quality of AI output is directly tied to the quality of this context.
Signing out
To sign out of RankFrame, click the account block in the sidebar to open Account Settings. Switch to the Profile tab and click the Sign Out button at the bottom of the modal.
Signing out removes your session from the plugin. The next time you open RankFrame in Framer, you will be prompted to sign back in.
Signing out does not delete your account or data. All your settings, audit history, and Personalization data are saved and available when you sign back in.
Frequently asked questions
How do I change my email address in RankFrame?
Profile details including your name, email, and password are read-only inside the plugin. To update them, visit dashboard.rankframe.com and make changes from your account settings there.