
<- Go Back
Schema Markup
Schema Injection Overview
RankFrame injects JSON-LD structured data directly into your Framer site. This article explains where schema lives in the plugin, how the two creation paths work, and how to push schemas live.
Last Updated on
Read Time
3 min read
Where schema injection lives
All schema features are inside Global Settings. Open the plugin and click the gear icon in the left sidebar. At the top of the panel, select the Advanced tab. The full schema injection interface appears on that screen.
The header reads: "Manage and inject structured data (JSON-LD) across your website."
The Schema Injection toggle
At the top of the Advanced tab is a Schema Injection toggle. This is the master switch. When it is off, no structured data appears on your live site regardless of what is saved. Turn it on before injecting any schemas.
If you save and inject schemas but nothing appears on your live site, check that the Schema Injection toggle is on.
Manual Schema vs Auto-Generate
Two buttons sit below the toggle. They represent two different ways to create structured data.
+ Manual Schema

Click + Manual Schema (the dark button) to create one schema by hand. You will:
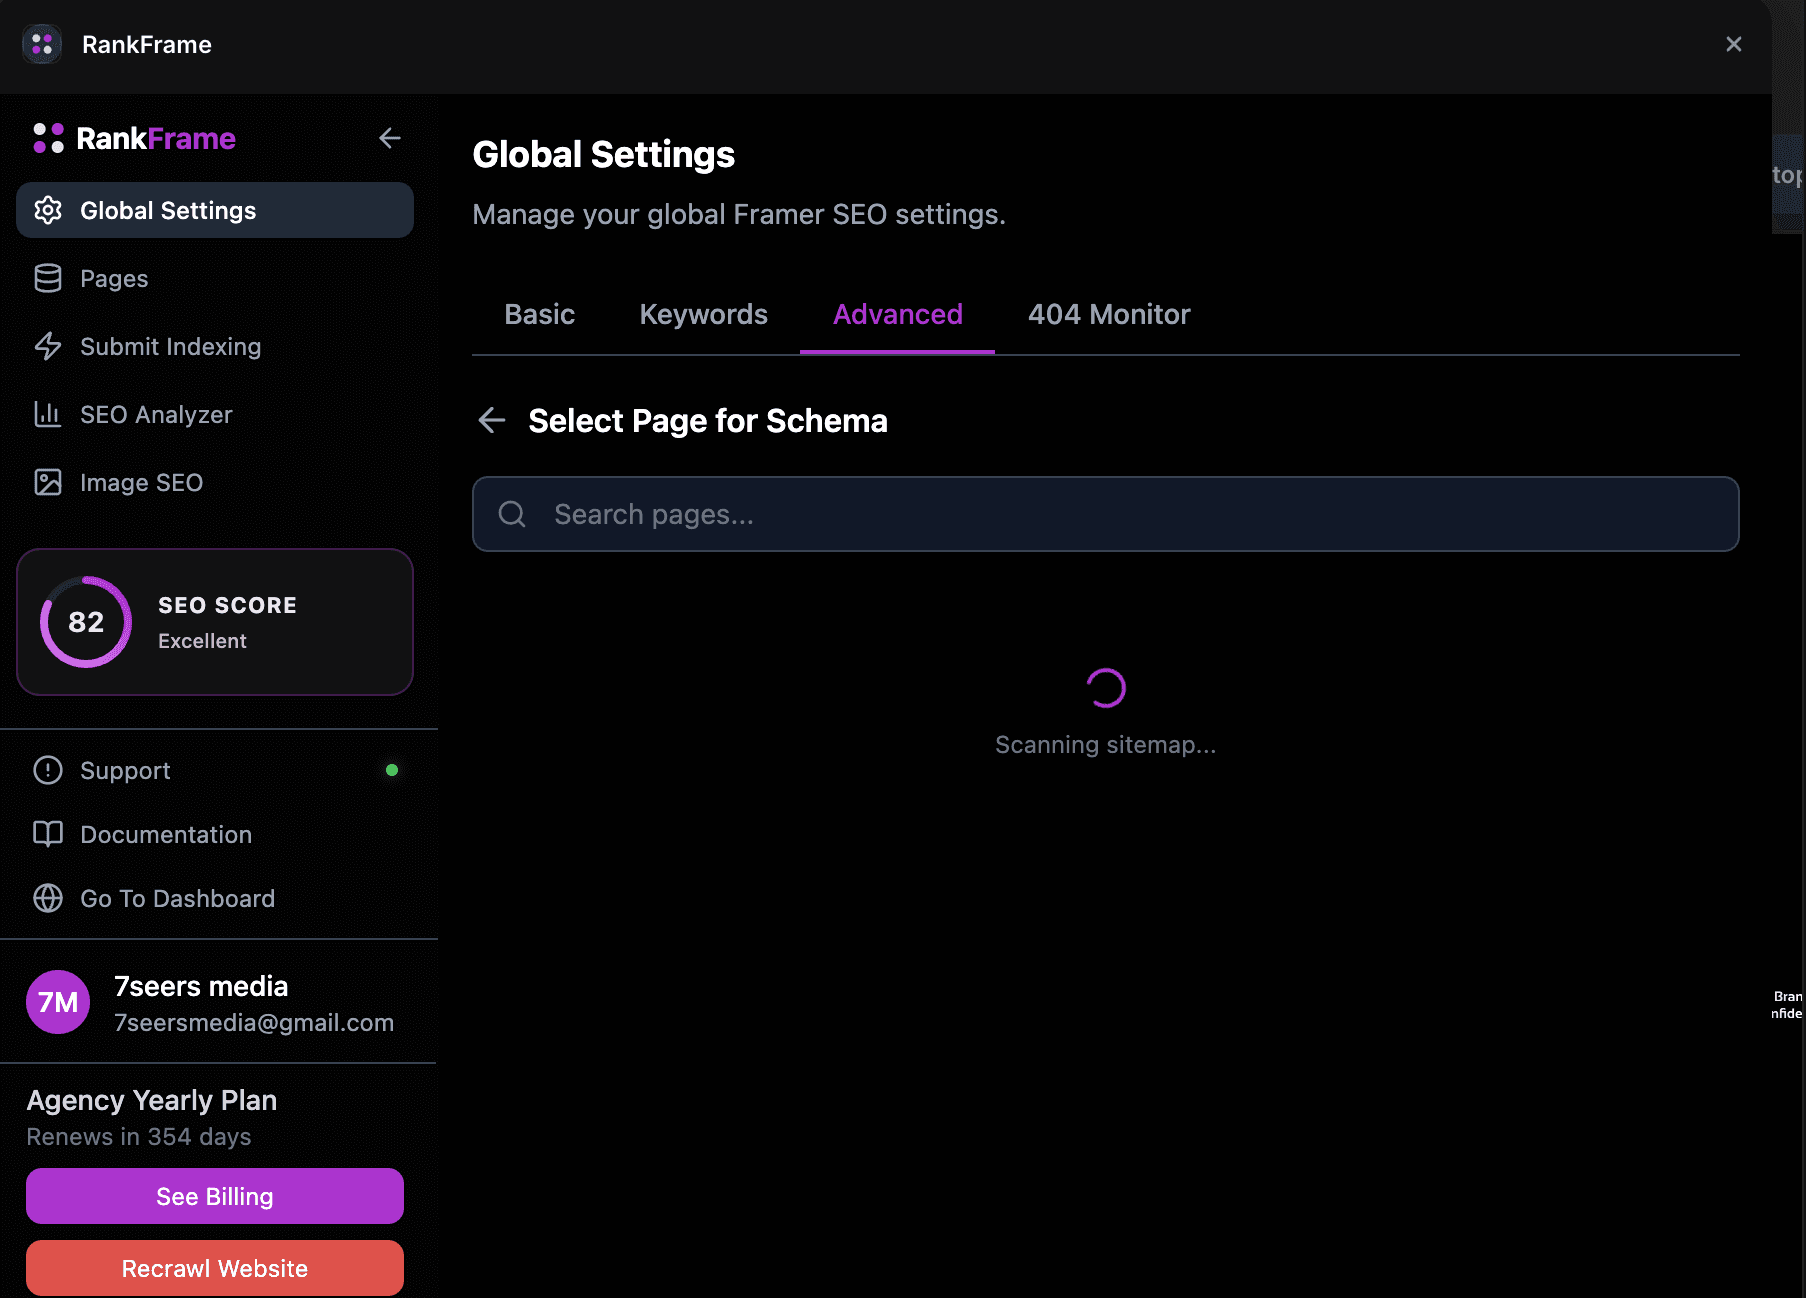
Choose a page from your sitemap on the Select Page for Schema screen
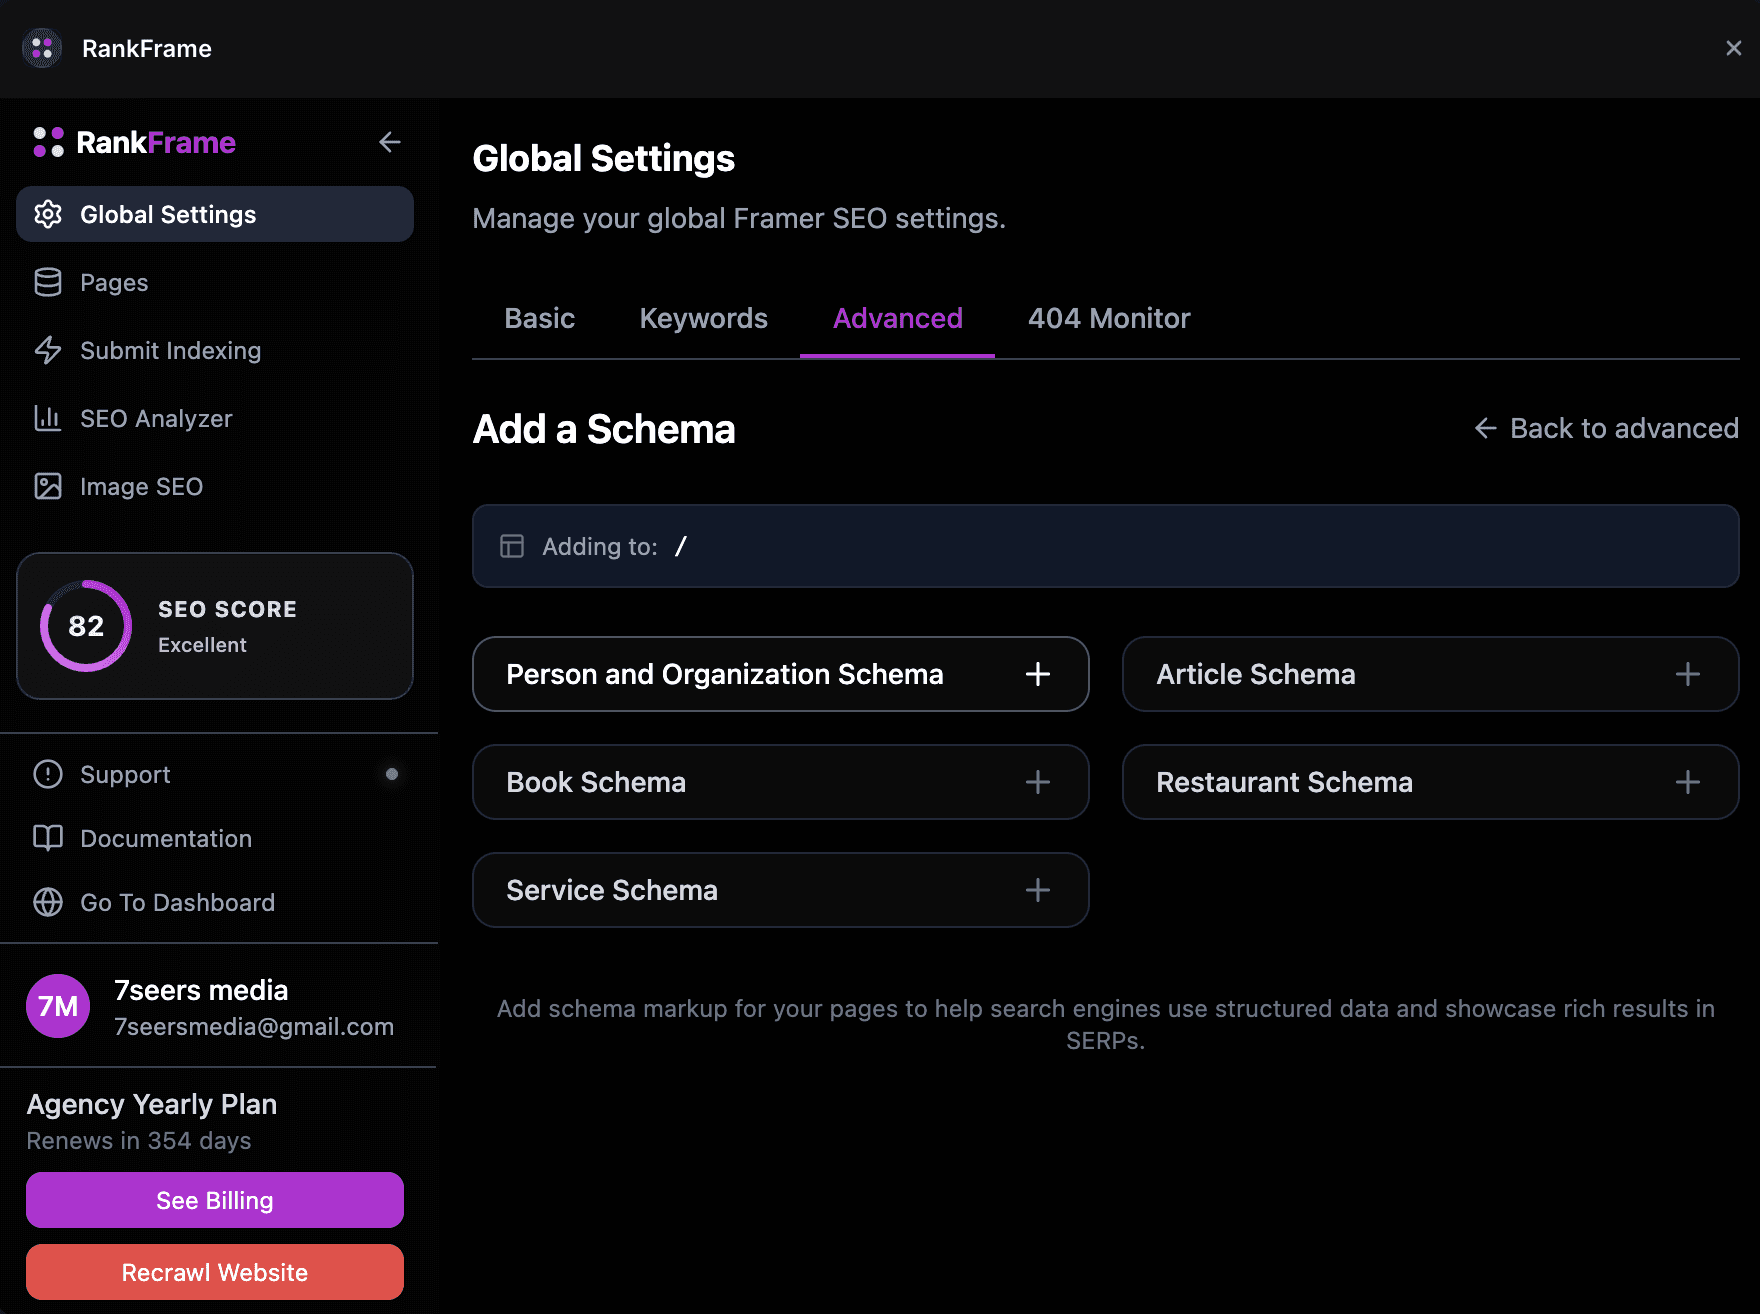
Pick a schema type on the Add a Schema screen
Fill out the form fields for that type
Preview the JSON output, then save
Use this path when you want precise control over one specific page.
Auto-Generate
Click Auto-Generate (the purple button) to let AI scan your entire sitemap. The Pages Found screen lists every URL RankFrame discovered. For each page:
Pages with an existing schema show a green dot, a schema type badge, a view JSON button, and a regenerate button
Pages without a schema show a "No Schema" label and a Generate button
Click Generate on any page and RankFrame opens the schema form pre-filled with AI-generated content based on your site. Review the content, edit any fields, and save.
A banner on the Auto-Generate screen reads: "This view displays raw AI-generated schemas. Any schemas you edit and save will appear in the Saved Schemas section." Always review AI output before injecting.
Saved Schemas section

Below the two buttons is the Saved Schemas section. It has two sub-tabs:
Manual (N): schemas you created using the Manual Schema path
Generated (N): schemas created through Auto-Generate that you have reviewed and saved
Each row in the list shows the schema name, a type pill (for example ORGANIZATION or ARTICLE), the URL the schema is bound to, and three controls: an edit button (pencil icon), an enable toggle, and a delete button (trash icon).
Use the Refresh control to reload the list after changes. Use Hide Management to collapse the section when you do not need it.
Pushing schemas live
A bottom bar shows "N schemas ready for injection" and a green Save and Inject button. The count updates as you toggle schemas on and off in the Saved Schemas list.
Toggle on the schemas you want live: Use the enable toggle on each row in Saved Schemas. Toggle off any schema you do not want injected yet.
Check the count in the bottom bar: The bar reads "N schemas ready for injection." Confirm the number matches your expectation.
Click Save and Inject: RankFrame pushes all toggled-on schemas to your live Framer site as JSON-LD script tags.
Inside the schema form
Every schema type (Manual or Auto-Generate) opens the same form structure. Three tabs appear at the top:
Edit: the field-by-field input form for that schema type
Preview JSON: the raw JSON-LD output that will be injected, updated live as you type
Validator (Ext): opens Google Rich Results Test in a new browser tab with the schema pre-loaded for validation
Two buttons appear at the bottom of every form: Copy JSON (copies the raw JSON-LD to your clipboard) and Save Schema (saves it to the appropriate sub-tab in Saved Schemas).
Frequently asked questions
Where is schema injection in RankFrame?
Inside Global Settings under the Advanced tab. Click the gear icon in the left sidebar, then select Advanced at the top of the panel.