8 min read
How-To Guide
How to Verify Your Framer Site in Google Search Console (2026)
Google Search Console is the most important free SEO tool any site owner can use. Verifying a Framer site takes under 10 minutes. Here's how.

Team 7 Seers

How to Verify Your Framer Site in Google Search Console (2026)
Why Google Search Console Matters for Framer Sites
Framer is a visual web builder that outputs fast, clean, SEO-friendly HTML. But publishing your Framer site does not automatically mean Google is finding it, crawling it correctly, or indexing it completely. Without Google Search Console, you are flying blind: you have no visibility into which pages are indexed, which keywords are generating impressions, whether Google is encountering errors, or whether your sitemap is being processed.
Google Search Console (GSC) is a free tool from Google that gives you a direct line of communication with Google's search infrastructure. It shows you how Google crawls and indexes your site, which queries your pages appear for in search results, your click-through rates, and any technical issues Google has encountered.
What you get from a verified GSC property
Performance data: Clicks, impressions, average position, and CTR for every query and page over the past 16 months.
Coverage report: A breakdown of indexed pages, excluded pages, crawl errors, and redirect chains across your entire Framer site.
URL Inspection: On-demand crawl simulation for any URL, showing exactly what Google sees when it visits that page.
Sitemaps: Confirmation that your sitemap has been processed and how many URLs Google has discovered from it.
Enhancements: Reports on structured data (schema markup), Core Web Vitals, and mobile usability.
Manual Actions: Notifications if Google has applied a manual penalty to your site or specific pages.
GSC data delay
Google Search Console data has a 2 to 3 day delay. Performance data you see today covers searches that happened up to three days ago.
Verification Methods Available for Framer
Verification Method | Works With Framer? | Difficulty | Notes |
|---|---|---|---|
HTML meta tag (URL prefix property) | Yes, recommended | Easy | Paste meta tag into Framer Site Settings custom head code. No DNS access needed. |
DNS TXT record (Domain property) | Yes, recommended for domain-level coverage | Medium | Requires access to your domain registrar's DNS settings. Covers all subdomains in one property. |
HTML file upload | No | N/A | Framer does not support uploading arbitrary files to your site root. |
Google Analytics | Yes, if GA is already connected | Easy | Works if you have Google Analytics with the same Google account installed on your Framer site. |
Google Tag Manager | Yes, if GTM is already installed | Easy | Works if GTM is already deployed on your Framer site via the custom head code. |
URL prefix vs. domain property
When you add a property in GSC, you choose between a URL prefix property and a Domain property. The Domain property requires DNS verification. For most Framer sites hosted on a single domain, a URL prefix property for https://yoursite.com covers everything you need.
Complete Step-by-Step Verification Walkthrough
1. Go to Google Search Console and Add a Property
Open search.google.com/search-console and sign in with your Google account. Click "Add property." Select "URL prefix." Enter your Framer site's full URL, including the protocol. Click Continue.
2. Choose the HTML Tag Verification Method
After entering your URL, Google will show the Verify ownership screen. Scroll past the recommended method to the "Other verification methods" section. Click on "HTML tag" to expand that option. You will see a short explanation and a text box containing the full meta tag. Do not click Verify yet.
3. Copy the Meta Tag From Google Search Console
Click the copy icon next to the meta tag text box in Google Search Console. The tag will look like this:
Make sure you copy the complete HTML tag including both angle brackets. Leave this browser tab open.
4. In Framer: Site Settings, Custom Code, Head - Paste the Tag
Switch to your Framer editor. Click the gear icon in the top-left area of the editor to open Site Settings. In Site Settings, look for the "General" tab. Scroll down until you see the "Custom Code" section. Paste your Google verification meta tag into the head code input. Click Save.
5. Publish Your Framer Site
Click the Publish button in the top-right of the Framer editor. Wait for the deployment to complete. After publishing, quickly verify the tag is live by opening your site URL in a new browser tab, pressing Ctrl+U or Cmd+U to view the source, and searching for google-site-verification.
6. Click Verify in Google Search Console
Return to the Google Search Console browser tab. Click the Verify button. Google will make a real-time request to your site's homepage to check for the presence of the verification meta tag. If the tag is found, GSC will show a green success message: "Ownership verified."
Verification successful: what happens next
After successful verification, Google Search Console begins processing your site. The URL Inspection tool becomes available immediately for any URL on your site. The Coverage report populates over the next 24 to 72 hours.
7. Submit Your Sitemap
Inside your verified GSC property, go to the Sitemaps section in the left navigation sidebar. Framer automatically generates and maintains a sitemap for every published site. The URL is always: yourdomain.com/sitemap.xml. In the Add a new sitemap field, enter the full sitemap URL. Click Submit.
8. Connect RankFrame for Live GSC Data Inside Framer
RankFrame solves the context-switching problem by bringing GSC data directly into your Framer editor. After installing RankFrame from the Framer Marketplace, open the plugin and connect your Google Search Console property.
More on the Framer Sitemap
What Framer includes in the sitemap
All published static pages with a public URL (pages not set to "no index").
All CMS collection item pages that are published and not excluded from indexing.
The sitemap uses standard XML format, and each entry includes the page URL and a lastmod date reflecting when the page was last published.
What Framer excludes from the sitemap
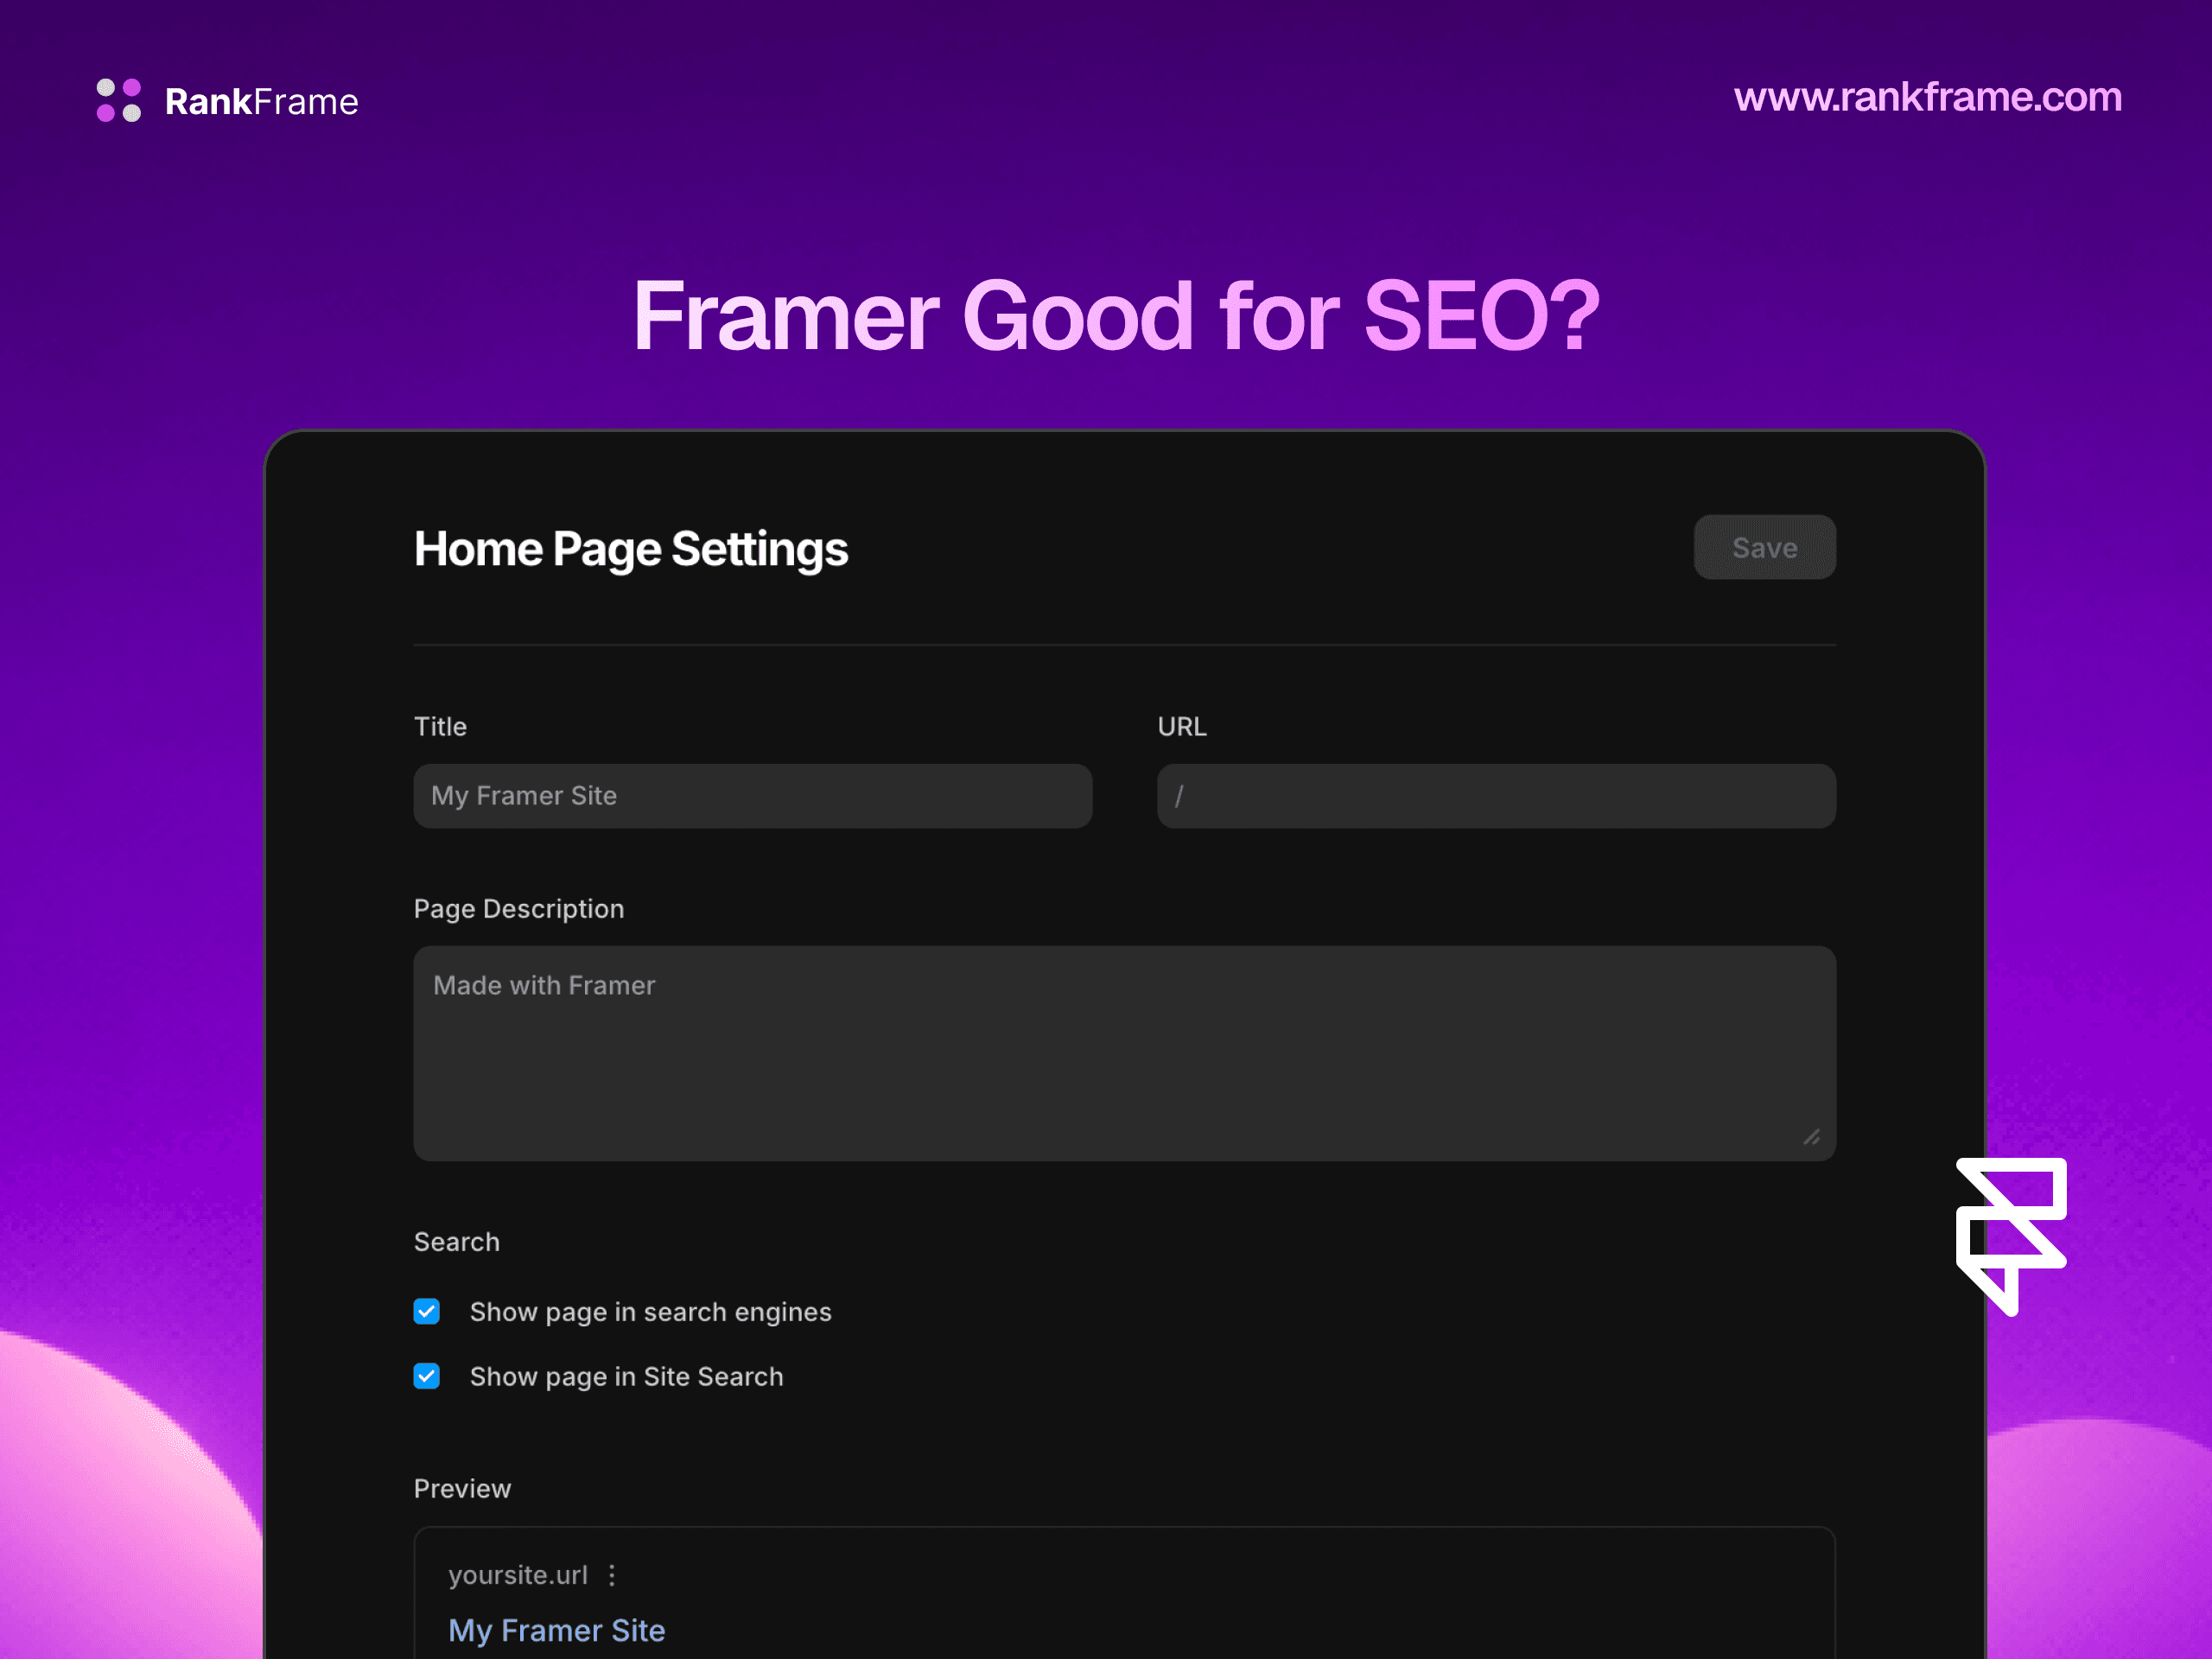
Pages where you have enabled the "No Index" setting in Page Settings.
Pages with password protection.
Draft CMS items that have not been published.
What to Do After Verification
Day 1: Sitemap and initial setup
Submit your sitemap at yourdomain.com/sitemap.xml.
Use URL Inspection on your homepage to confirm it is accessible to Google.
Check the Coverage report for any immediate errors.
Set up email notifications in GSC Settings.
Week 1: Review and configure
Check the Coverage report again for unexpected excluded pages.
Review the Enhancements section for structured data errors.
Check the Manual Actions section for any penalty notifications.
Ongoing: Monitor and act
Review the Performance report weekly or monthly.
When you publish major changes, use URL Inspection to request indexing of updated pages.
When you delete or rename pages in Framer, set up 301 redirects.
Key Google Search Console Reports for Framer Sites
Performance report
The Performance report shows you which queries your pages appear for in Google Search, how many impressions and clicks each query and page receives, and your average position. Filter the Performance report by page to see which individual pages are driving the most organic traffic. Sort by average position to find your near-miss rankings.
Coverage report
The Coverage report categorizes all URLs Google has discovered from your site into four buckets: Error, Valid with warnings, Valid, and Excluded. For Framer sites, the most common Coverage issues are: Submitted URL blocked by robots.txt, Duplicate without user-selected canonical, and Crawled but not indexed.
URL Inspection tool
URL Inspection is the most direct way to diagnose why a specific Framer page is or is not appearing in Google. Enter any URL from your site, and GSC will show you Google's most recent crawl data for that URL. Use the "Request Indexing" button within URL Inspection to tell Google to prioritize recrawling that specific URL.
Troubleshooting Failed Verification
Error: "Could not verify" or "Verification token not found"
You did not publish after adding the tag. The tag must be on your live published site. Click Publish in Framer and wait for deployment to complete before verifying.
You pasted the tag in the wrong place. The tag must be in Site Settings under Custom Code in the head section, not in an individual page's custom code.
You only copied the content value, not the full tag. Re-copy from GSC, making sure to select the complete
<meta name="google-site-verification" ... />tag.CDN caching is serving the old page version. Wait 10 to 15 minutes after publishing and try again.
Error: "Your page may be unable to load"
This indicates GSC could not fetch your Framer site at all during verification. Check: Is your Framer site published and accessible? Is your custom domain properly connected to your Framer project?
Verification succeeds but then loses ownership later
GSC periodically re-verifies ownership. Keep the verification tag in your Framer Site Settings permanently. If the person who manages your Framer site ever changes the custom head code and accidentally removes the verification tag, you could lose access to your GSC property.
Add multiple verification methods as a backup
Add a second verification method as a backup: if your domain registrar is accessible, add the DNS TXT record verification as a secondary method in GSC. Having two active methods means losing one does not immediately revoke your property access.
Connecting RankFrame for GSC Data Inside Framer
After installing RankFrame from the Framer Marketplace, open the plugin in your editor and navigate to the Search Console integration settings. You will authorize RankFrame to connect to your Google account and select the GSC property corresponding to your Framer site.
Once connected, RankFrame surfaces page-level keyword performance, overall site performance trends, indexing status per page, and CTR performance for pages with high impressions but low click-through rates.
With RankFrame, you can see keyword data and CTR for the current page in the plugin sidebar while you are working in Framer. You identify an issue, open the SEO settings, fix it, and publish, all without leaving the editor.
Frequently asked questions
Can you connect Framer to Google Search Console?
Yes. You connect your Framer site to Google Search Console by verifying site ownership using the HTML meta tag method. Copy the verification tag from GSC, paste it into Framer's Site Settings under Custom Code in the head section, publish your site, and click Verify in GSC.